
Why Your Mesh System Fails Outdoors
You bought the latest mesh Wi-Fi system, placed nodes strategically around the house, and enjoyed flawless streaming in every room. Then you stepped into the backyard with your phone, and the signal dropped to one bar — or disappeared entirely. Sound familiar?
The problem isn’t your mesh system being bad. It was never designed for this. Mesh routers are engineered for indoor environments — drywall, wood framing, open air inside rooms. They use antennas optimized for omnidirectional indoor coverage, and their plastic enclosures aren’t weather-rated. Even placing a mesh node right by a sliding glass door won’t solve it because glass, especially low-E coated glass, can block or degrade Wi-Fi signals by 30–50%. Thick exterior walls with insulation, brick, or stucco make things even worse.
The Physics of Outdoor Wi-Fi
Wi-Fi operates on two main frequency bands: 2.4 GHz and 5 GHz (and now 6 GHz with Wi-Fi 6E). The 2.4 GHz band penetrates walls and obstacles better, but it’s slower and more congested. The 5 GHz band offers higher speeds but struggles with distance and obstacles. Outdoors, you’re dealing with none of the indoor reflective surfaces that help propagate signals — instead, you have open air, trees, fences, and weather to contend with.
Your phone might still show a connection, but throughput plummets to unusable levels for streaming or video calls once the signal-to-noise ratio drops below usable thresholds. This is physics — no firmware update will fix it.
The Real Solution: Outdoor Access Points
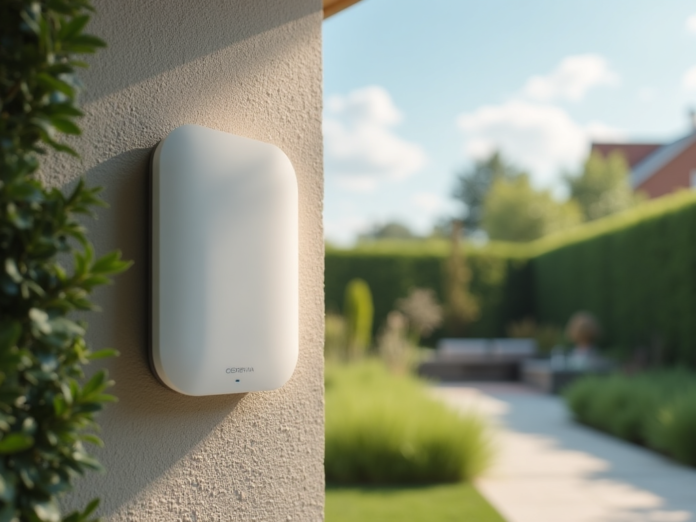
Outdoor wireless access points (APs) are built for the job. They feature higher-gain antennas designed for directional or wide-area coverage outside. They’re housed in IP55, IP65, or even IP67-rated enclosures that withstand rain, snow, heat, and dust. They operate at higher transmit power levels (up to 27 dBm or more) and support advanced beamforming to focus the signal exactly where you need it — your garden, patio, or outbuilding.
Power over Ethernet (PoE) Makes Installation Simple
Most outdoor APs use Power over Ethernet (PoE), meaning a single Ethernet cable carries both data and power. You run a shielded outdoor-rated Cat6 or Cat6a cable from your switch or PoE injector, drill a small hole through the wall, mount the AP under an eave, and you’re done. No need for an outdoor electrical outlet or an expensive electrician visit. PoE injectors cost around $15–30, and many modern switches include built-in PoE ports.
What to Look for in an Outdoor AP
Before buying, check these critical specifications:
- Weatherproofing rating: IP65 or higher for direct exposure to rain and snow. IP55 is fine if mounted under a covered eave.
- Wi-Fi standard: Wi-Fi 6 (802.11ax) is ideal for best performance and device density. Wi-Fi 5 (802.11ac) is still capable and more budget-friendly.
- Antenna configuration: External high-gain antennas (5–8 dBi) offer longer range. Internal phased-array antennas provide better beamforming.
- PoE standard: 802.3af (PoE, ~15W) is sufficient for most APs. 802.3at (PoE+, ~30W) is needed for models with multiple radios or integrated radios.
- Mounting options: Look for included pole, wall, or eave mounting hardware that matches your installation surface.
- Management interface: Cloud-managed platforms like UniFi or Omada offer easy centralized control. Standalone web interfaces work fine for single AP setups.
Top Outdoor AP Recommendations for 2026
Ubiquiti UniFi U6 Mesh: A compact, weatherproof Wi-Fi 6 AP that can be mounted indoors or outdoors. It offers excellent range, OFDMA for handling many devices simultaneously, and seamless integration with the UniFi ecosystem. Around $179.
TP-Link Omada EAP225 Outdoor: A reliable Wi-Fi 5 option at a budget-friendly ~$89. IP65-rated, supports passive PoE, and integrates with the Omada SDN platform for centralized management across multiple sites.
Grandstream GWN7660LR: A long-range Wi-Fi 6 AP covering up to 300 meters in open space. IP66-rated with 2×2 MU-MIMO and a built-in controller. Around $149.
Engenius ECW336: A tri-band Wi-Fi 6E outdoor AP adding the 6 GHz band for ultra-fast, low-interference connections. An investment at ~$299, but future-proof for years.
Placement Tips for Maximum Coverage
- Mount high: Elevation reduces ground-level obstructions. Aim for 8–10 feet above ground for best line-of-sight.
- Avoid metal: Metal siding, gutters, and fence posts reflect Wi-Fi signals. Keep at least 3 feet of clearance from large metal objects.
- Point toward coverage area: Directional antennas should aim at your garden or outbuilding. For omnidirectional APs, center the device in the target area.
- Consider multiple APs: For properties over half an acre, you may need two APs on opposite sides, each connected via PoE to the same switch.
- Run shielded cable: Use outdoor-rated, shielded Cat6 cable for runs over 50 feet. Test the connection before burying or permanently securing the cable.
Skip the Extenders and Powerline Adapters
Wi-Fi extenders cut your bandwidth in half because they repeat the signal wirelessly on the same channel. Powerline adapters are unreliable over long electrical runs and often fail when a major appliance cycles on the same circuit. Neither is suitable for outdoor use. A dedicated outdoor AP is the only reliable way to get full-speed Wi-Fi outside your home.
Final Thoughts
Extending Wi-Fi to your backyard isn’t complicated. Your indoor mesh system is excellent for what it does, but the laws of physics mean it will never cover outdoor spaces reliably. A single well-placed outdoor access point can transform your backyard from a connectivity dead zone into a seamless extension of your home network — perfect for streaming music during a barbecue, running outdoor security cameras, or getting work done in the garden on a sunny day.
Invest in a proper outdoor AP, run that Ethernet cable, and enjoy full bars everywhere on your property.


