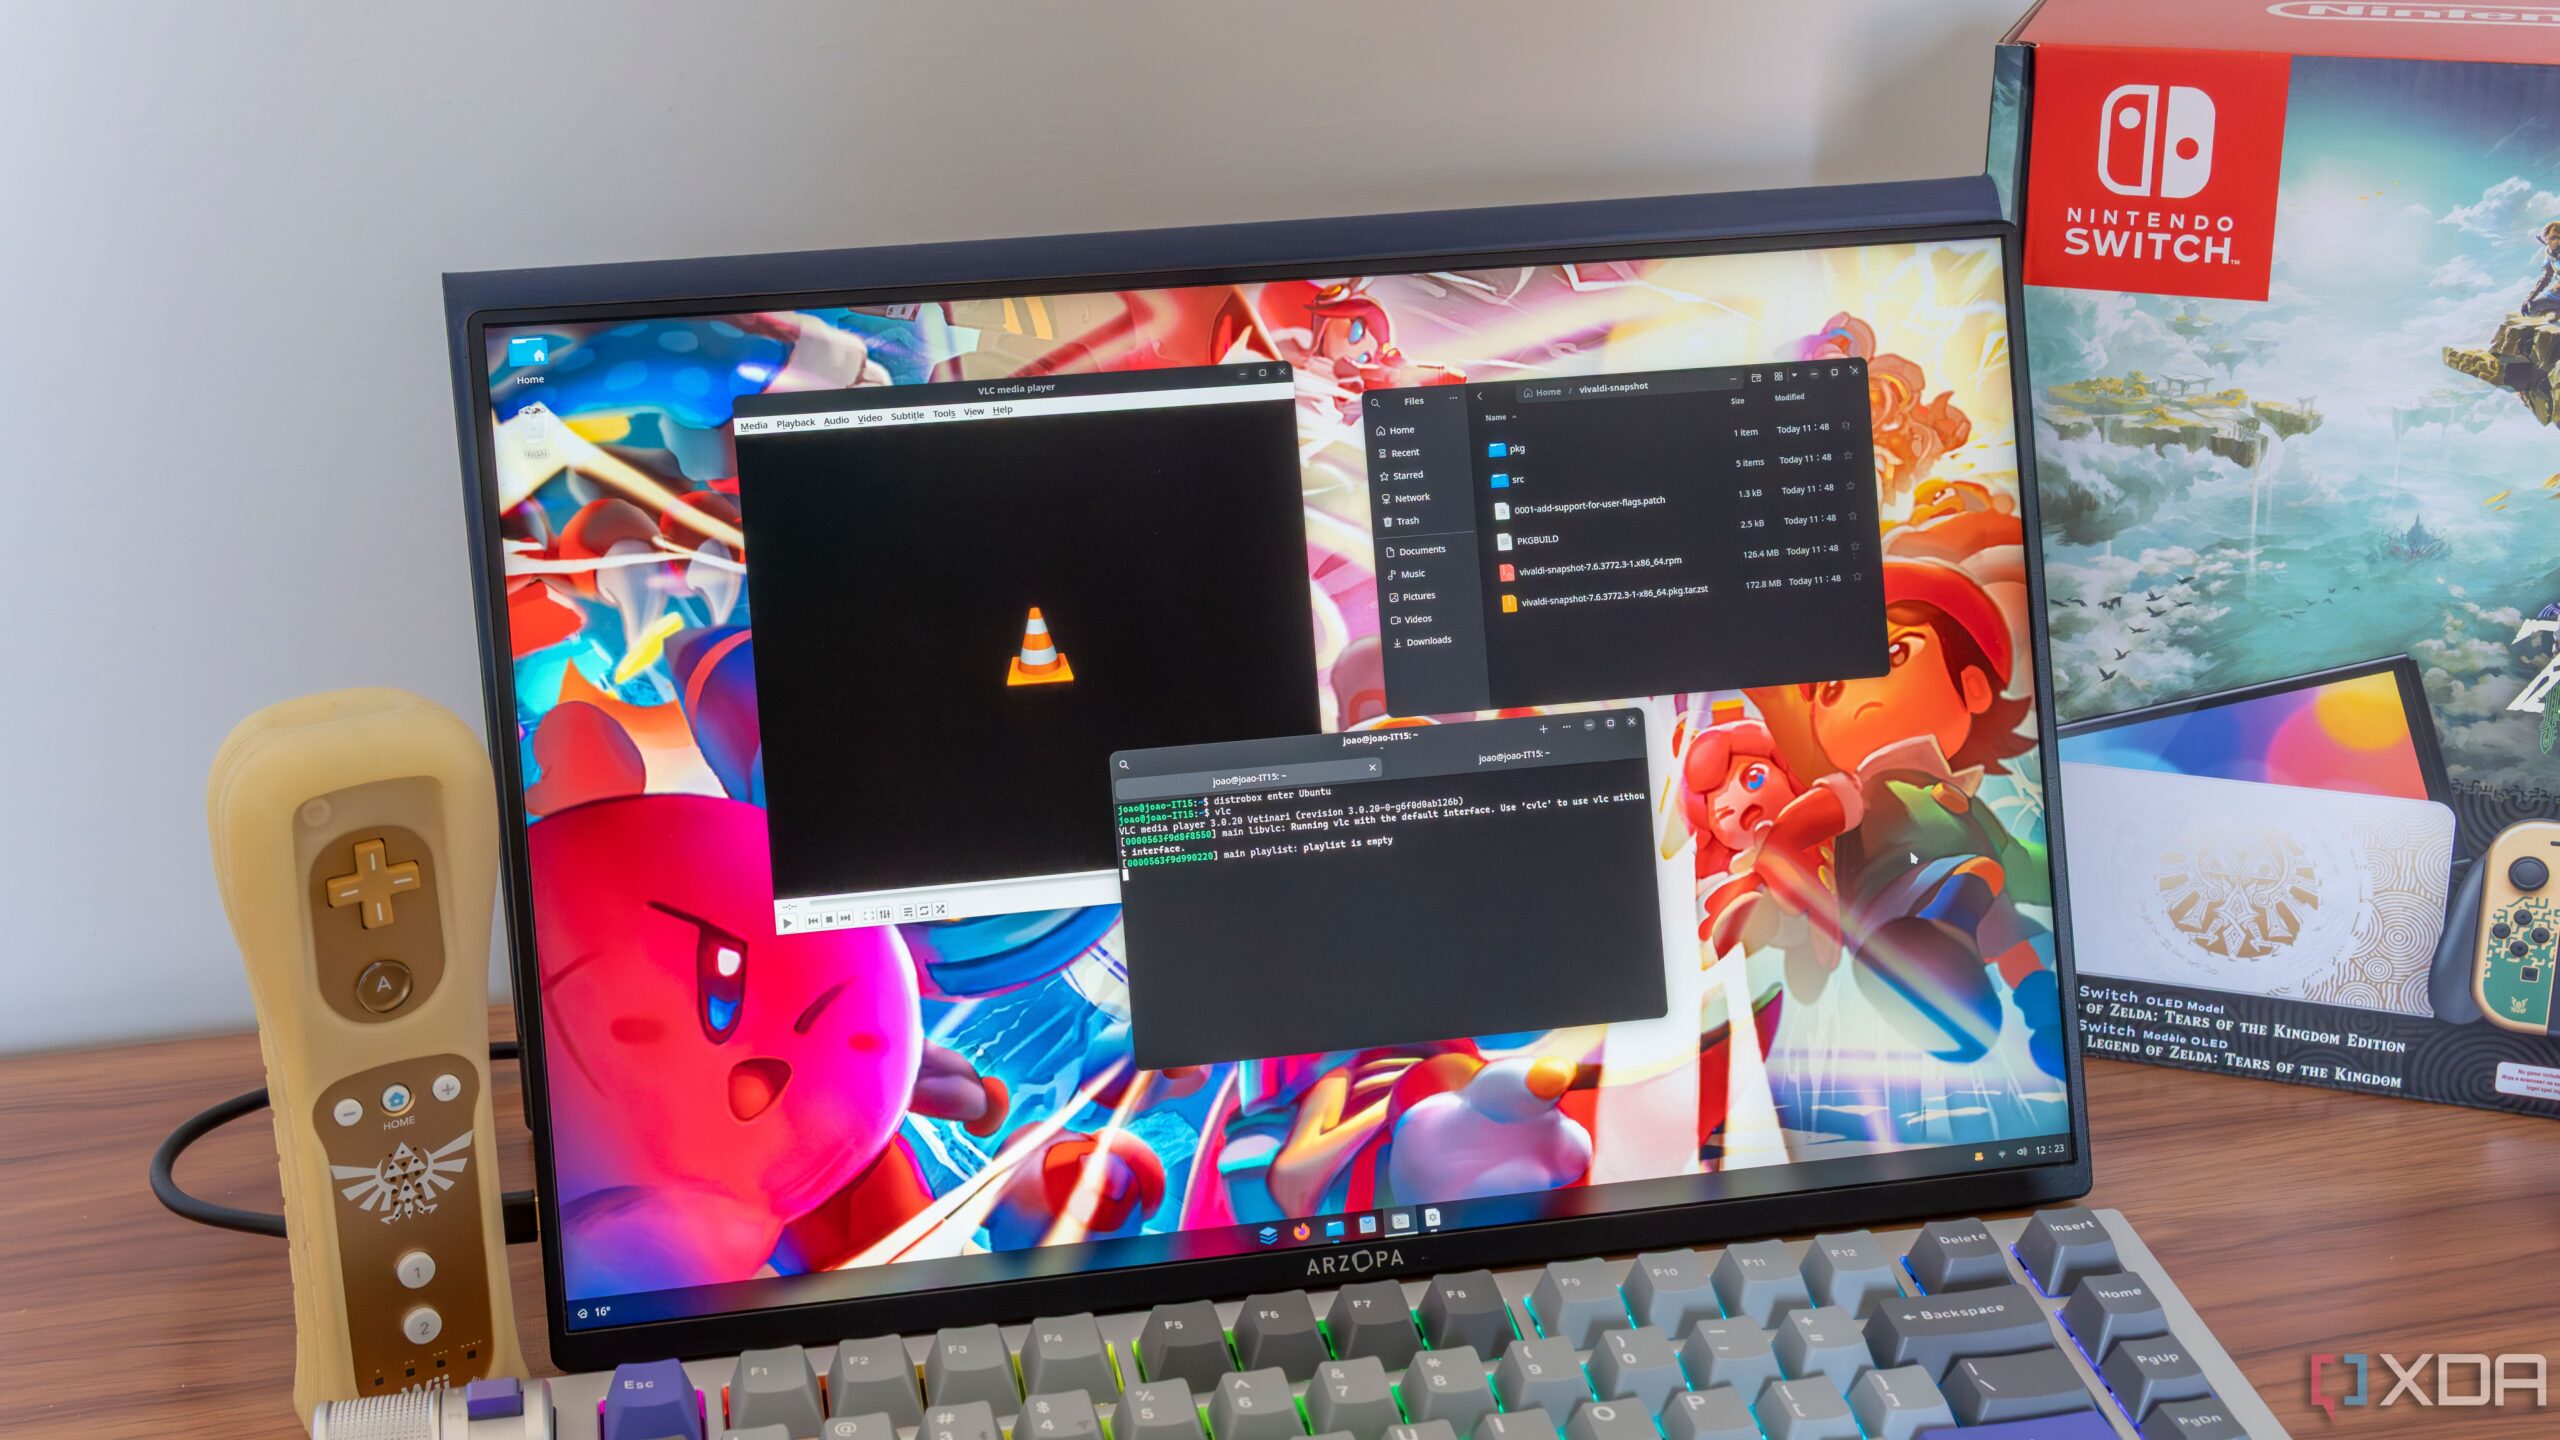

Unleash the Power of Multiple Linux Distros with Distrobox
Ever found yourself needing a specific tool only available on a particular Linux distribution, but not wanting to mess with your current setup? The Linux world is vast and varied, and sometimes one distro just isn’t enough. While dual-booting or virtual machines offer solutions, they can be cumbersome and resource-intensive. Luckily, there’s a better way: Distrobox. This innovative tool allows you to run multiple Linux distros within containers, seamlessly integrated with your host system. Let’s explore how Distrobox can revolutionize your Linux experience.
What is Distrobox and Why Should You Use It?
Distrobox is a command-line tool that leverages containerization to enable you to run different Linux distributions within your existing Linux environment. Think of it as a lightweight and efficient way to have multiple operating systems available at your fingertips, without the overhead of traditional virtualization.
Here’s why you should consider using Distrobox:
- Experimentation: Safely test new distributions and software without affecting your primary system.
- Software Compatibility: Run applications that require specific libraries or dependencies available only on certain distros.
- Development Environment: Create isolated development environments for different projects, each with its own dependencies.
- Immutable Systems: Expand the capabilities of immutable operating systems like Fedora Silverblue or SteamOS.
- Resource Efficiency: Containers consume fewer resources than virtual machines, resulting in better performance.
- Ease of Use: Distrobox is surprisingly simple to set up and manage, even for novice Linux users.
Comparing Distrobox to Other Solutions
| Feature | Distrobox | Virtual Machines (VMs) | Windows Subsystem for Linux (WSL) |
|---|---|---|---|
| Resource Usage | Low | High | Low |
| Integration | Seamless | Isolated | Good (but Windows-centric) |
| Setup Complexity | Easy | Complex | Relatively Easy |
| Performance | Near-native | Lower due to virtualization overhead | Near-native |
| Use Cases | Development, testing, software compatibility | Full OS virtualization, server deployments | Windows-integrated Linux tasks |
Getting Started with Distrobox: A Step-by-Step Guide
One of the biggest advantages of Distrobox is its ease of installation and use. Here’s a breakdown of how to get started:
1. Install a Container Manager
Distrobox relies on a container manager like Docker, Podman, or Lilipod. The tool itself doesn’t handle containerization; it acts as an orchestrator. Podman is a popular choice due to its daemon-less architecture.
Example: Installing Podman on Ubuntu/Debian:
bash
sudo apt update
sudo apt install podman
2. Install Distrobox
Once you have a container manager, installing Distrobox is straightforward using your distribution’s package manager.
Example: Installing Distrobox on Ubuntu/Debian:
bash
sudo apt update
sudo apt install distrobox
Distrobox is available on a wide range of distributions, including:
- Arch Linux
- Fedora
- Manjaro
- NixOS
- OpenSUSE
- And many more!
Refer to your distribution’s documentation for specific installation instructions.
3. Create a Distrobox Container
Creating a new container is as simple as running a single command. You specify the name of the container and the image to use.
Example: Creating an Arch Linux container:
bash
distrobox create -n Arch -i archlinux
-n Arch: Sets the name of the container to “Arch”. You can choose any name you like.-i archlinux: Specifies the Docker image to use for the container. In this case, it’s the official Arch Linux image.
You can find the correct image name for your desired distribution in the Distrobox documentation or by searching on Docker Hub.
4. Enter Your Distrobox Container
Once the container is created, you can enter it using the following command:
bash
distrobox enter Arch
Replace “Arch” with the name you gave your container. This will open a new shell within the container, allowing you to interact with the chosen Linux distribution.
5. Removing a Distrobox Container
If you no longer need a container, you can easily remove it with:
bash
distrobox rm Arch
Again, replace “Arch” with the name of the container you wish to remove.
The Power of Seamless Integration
Distrobox isn’t just about running different distributions in isolation. It’s designed for tight integration with your host system, offering a seamless user experience.
- Shared Home Directory: Containers have access to your user’s home directory, allowing you to easily share files between the host and the container.
- Access to External Drives: You can access external drives connected to your host system from within the container.
- Graphical Applications: Run graphical applications from the container and display them on your host system’s desktop.
- Kernel Sharing: Distrobox containers share the host’s kernel, resulting in minimal performance overhead.
This tight integration makes Distrobox a powerful tool for developers and users who need to work with multiple environments simultaneously.
Example: Building an AUR Package in an Arch Linux Container
The source content referenced attempting to build an AUR package within an Arch Linux container. This is a great example of Distrobox’s capabilities. Here’s a more detailed breakdown:
- Enter the Arch Linux container:
distrobox enter Arch - Install necessary dependencies: Building AUR packages typically requires
base-devel. You’d install it using Pacman:sudo pacman -Syu base-devel - Clone the AUR package repository: Assuming you want to build
vivaldi-snapshot, you’d clone its repository:git clone https://aur.archlinux.org/vivaldi-snapshot.git - Navigate to the package directory:
cd vivaldi-snapshot - Build the package:
makepkg -siThe-sflag will automatically resolve and install dependencies, and the-iflag will install the resulting package.
This demonstrates how Distrobox allows you to leverage the vast AUR repository even if your host system isn’t Arch Linux based.
Lightweight and Performant
Distrobox is designed to be lightweight and efficient. Because it uses containerization, it consumes fewer resources than traditional virtual machines. This means you can run multiple containers simultaneously without significantly impacting your system’s performance. The original author found that creating a brand-new container takes only a couple of minutes, and once the container is established, entering it is almost instant.
However, it’s crucial to remember that these containers share the host’s kernel, which can represent security or stability issues if those containers were not handled properly.
Addressing a Potential Drawback
The provided content mentions a potential downside: it’s easy to forget whether you’re working within a container or on the host system. This can be mitigated by customizing your shell prompt to indicate the active container. For example, you can modify your .bashrc or .zshrc file to display the container name in the prompt.
Conclusion: A Must-Have Tool for Linux Enthusiasts
Distrobox is a game-changer for anyone who needs to work with multiple Linux distributions. Its ease of use, seamless integration, and lightweight design make it a superior alternative to traditional virtualization methods. Whether you’re a developer, a system administrator, or simply a Linux enthusiast, Distrobox is a valuable tool that can significantly enhance your workflow. Ditch the cumbersome dual-boot setups and embrace the power of Distrobox.
What do you think of Distrobox? Have you tried it? Share your thoughts and experiences in the comments below!
Sources & Further Reading:
Original article at www.xda-developers.com


