
Is Your Router Holding Back Your Online Experience? Unlock the Power of Port Forwarding
Have you ever wondered why some online games lag or why you can’t access your home computer remotely? Often, the culprit is your router’s firewall. While it’s crucial for security, it can also block legitimate traffic. The solution? Understanding and implementing port forwarding. This article will guide you through the process, explaining why it’s necessary and how to configure it correctly, so you can unlock the full potential of your network.
Understanding Port Forwarding
At its core, port forwarding is a method of allowing external devices to connect to specific services on your network behind a router. To grasp why it’s needed, we must first understand how a router works.
How Routers Use Ports
Imagine your router as a gatekeeper for your home network. When data enters or exits your network, it does so through numbered “ports.” Each port is associated with a specific type of network traffic. For example, port 80 is commonly used for HTTP (web browsing), and port 443 is used for HTTPS (secure web browsing).
By default, many ports on your router are closed for security reasons. This means that if an external device tries to connect to a service on your network using a closed port, the router will block the connection. This is where port forwarding comes in.
The Purpose of Port Forwarding
Port forwarding allows you to create exceptions to the default blocking behavior of your router. It involves opening specific ports on your router and directing the traffic that arrives on those ports to a specific device on your network. Think of it as creating a dedicated tunnel through your router for a particular application.
For example, if you’re running a web server on your home computer, you’ll need to forward port 80 and port 443 to that computer’s IP address. This allows people outside your network to access your web server.
Here are some common scenarios where port forwarding is essential:
- Online Gaming: Many online games require specific ports to be open for proper communication between players.
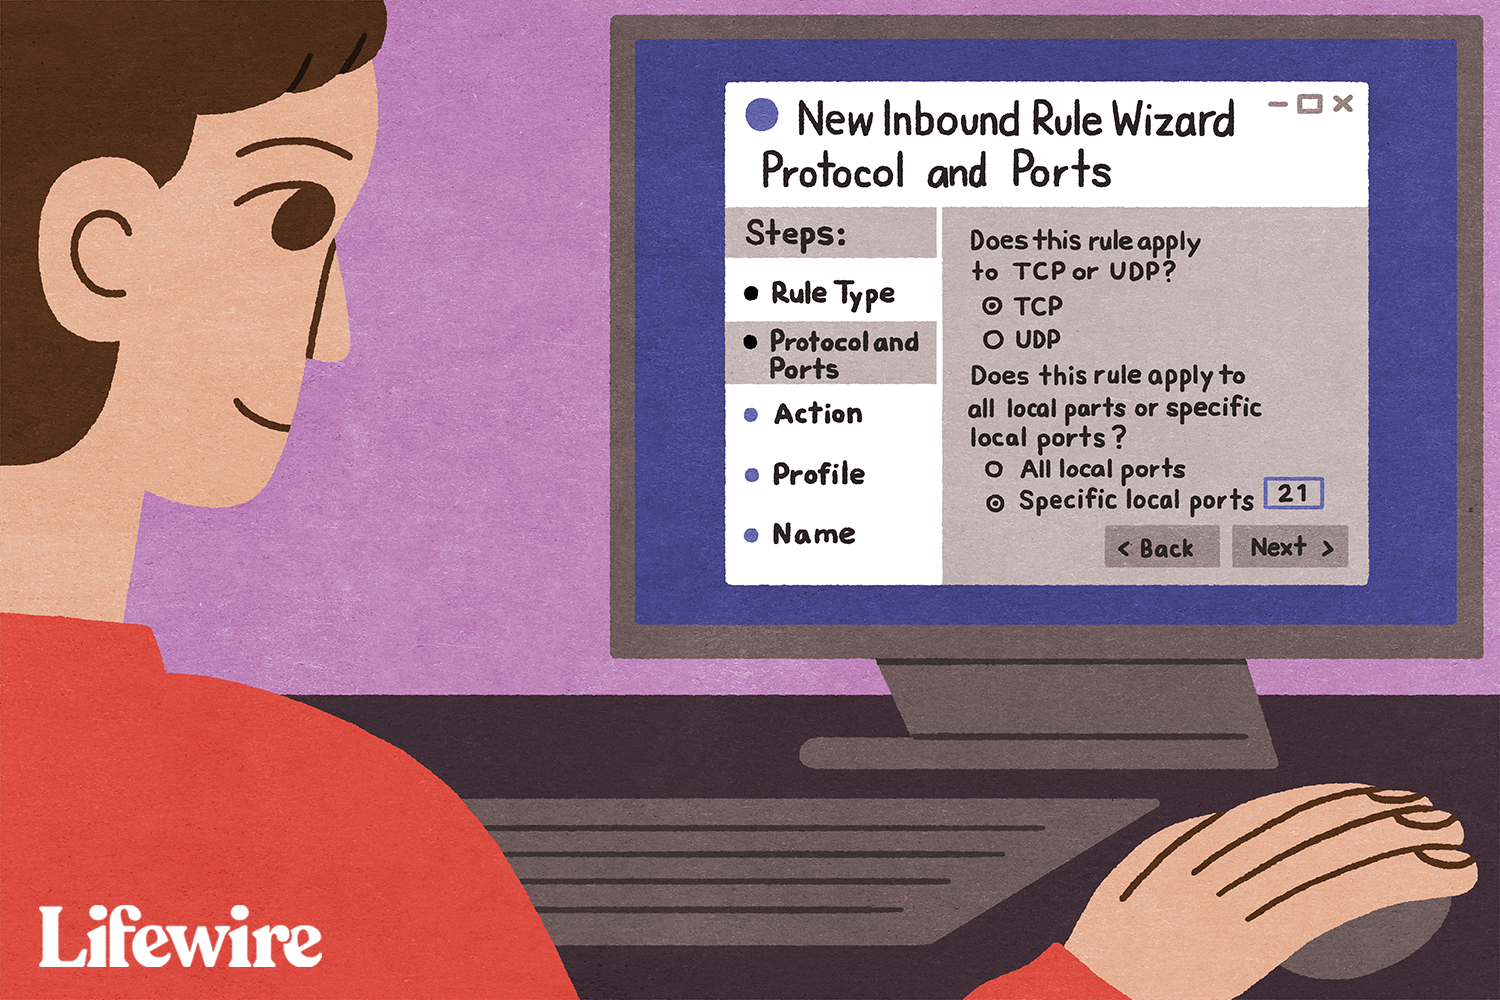
- File Servers (FTP): If you host a file server, you’ll need to forward port 21 (or another designated port) to allow external users to upload and download files.
- Remote Access: Connecting to your computer remotely using Remote Desktop Protocol (RDP) or other remote access tools requires port forwarding.
- Security Cameras: Viewing your home security camera feed remotely often involves forwarding a specific port to the camera’s IP address.
- Torrenting: While controversial, torrent clients often require open ports for optimal uploading and downloading speeds.
Port Forwarding vs. Port Triggering
While often confused, port forwarding and port triggering are different. Port forwarding creates a permanent opening for traffic on a specific port. Port triggering, on the other hand, only opens the port when the device on your network initiates a connection on a specific outbound port. The port then remains open for incoming traffic on the configured port for a short period. Port triggering is less common and generally used for applications that don’t require constant connectivity.
| Feature | Port Forwarding | Port Triggering |
|---|---|---|
| Port Status | Always open | Opens only when triggered |
| Traffic Direction | Incoming traffic directed to device | Outgoing connection triggers opening |
| Use Case | Servers, constant connectivity | Applications needing occasional access |
Setting Up Port Forwarding: A Step-by-Step Guide
The process of setting up port forwarding typically involves two main steps: assigning a static IP address to the device and configuring the port forwarding rule in your router’s settings.
Step 1: Assigning a Static IP Address
By default, most devices on your network are assigned dynamic IP addresses by your router using DHCP (Dynamic Host Configuration Protocol). This means that the IP address of your device can change periodically. If you’re using port forwarding, this can be problematic because the port forwarding rule will be pointing to an outdated IP address.
To avoid this issue, you need to assign a static IP address to the device you want to forward ports to. This ensures that the device’s IP address remains constant.
Setting a Static IP on Your Computer (Windows)
- Open Command Prompt: Press the Windows key, type “cmd,” and press Enter.
- Run
ipconfig /all: This command displays your network configuration. - Record Information: Note the following values:
- IPv4 Address
- Subnet Mask
- Default Gateway
- DNS Servers
- Open Network Connections: Press Win+R, type “ncpa.cpl,” and press Enter.
- Right-click your network adapter: Select “Properties.”
- Select IPv4: Choose “Internet Protocol Version 4 (TCP/IPv4)” and click “Properties.”
- Enter Static IP Information: Select “Use the following IP address” and enter the values you recorded earlier. Important: To avoid conflicts, increment the last octet of your current IPv4 address by a number, such as 10 or 20. For example, if your current IP is
192.168.1.10, use192.168.1.30as your static IP. - Click OK: Save your changes.
Setting a Static IP on Your Router
Alternatively, you can configure your router to assign a static IP address to a specific device based on its MAC address. This is often referred to as “DHCP reservation.” The steps for doing this vary depending on your router’s manufacturer and model.
- Access Your Router’s Admin Interface: Open a web browser and enter your router’s IP address (usually 192.168.1.1 or 192.168.0.1).
- Log In: Enter your router’s username and password.
- Find DHCP Settings: Look for a section labeled “DHCP,” “LAN Settings,” or “Network Settings.”
- Find DHCP Reservation: Look for a section named something like “DHCP Reservation,” “Address Reservation,” or “Static DHCP.”
- Add New Reservation: Add a new entry. You’ll need to enter the device’s MAC address and the desired static IP address. The MAC address is typically displayed in your router’s list of connected devices.
- Save Changes: Save the changes to your router’s settings.
Why Static IP Matters: Without a static IP, your device’s IP address could change, breaking your port forwarding rules. This requires you to constantly reconfigure your router, which is inconvenient.
Step 2: Configuring the Port Forwarding Rule
Once you’ve assigned a static IP address to your device, you can configure the port forwarding rule in your router’s settings.
- Access Your Router’s Admin Interface: As before, open a web browser and enter your router’s IP address.
- Log In: Enter your router’s username and password.
- Find Port Forwarding Settings: Look for a section labeled “Port Forwarding,” “NAT Forwarding,” “Virtual Servers,” or “Applications & Gaming.” The exact location varies.
- Add a New Rule: Add a new port forwarding rule. You’ll need to enter the following information:
- Service Name/Description: A descriptive name for the rule (e.g., “Minecraft Server”).
- Port Range: The port or range of ports you want to forward (e.g., “25565-25565”). If it’s a single port, enter the same number for the start and end ports.
- Internal Port: Usually the same as the external port, but sometimes you can redirect an external port to a different internal port on your device.
- IP Address: The static IP address of the device you want to forward the ports to.
- Protocol: The protocol used by the application (TCP, UDP, or Both).
- Enable the Rule: Make sure the rule is enabled or “on.”
- Save Changes: Save the changes to your router’s settings.
Example: Port Forwarding for Minecraft
To forward ports for a Minecraft server, you would typically forward port 25565 (TCP) to the static IP address of the computer running the server. You might also need to forward UDP ports 19132-19133 for Minecraft Bedrock Edition.
Important Considerations:
- Router Specifics: The exact steps for configuring port forwarding can vary depending on your router’s manufacturer and model. Consult your router’s manual for specific instructions.
- Security Risks: Opening ports on your router can increase your security risk if not done carefully. Only open the ports that are absolutely necessary, and make sure your devices have strong passwords.
- Firewall: Ensure that your device’s firewall is not blocking the ports you are forwarding.
- Multiple Devices: You can only forward the same port to one device on your network at a time.
Troubleshooting Port Forwarding
If you’ve followed the steps above and your port forwarding isn’t working, here are some things to check:
- Double-check the settings: Make sure you’ve entered all the information correctly, including the IP address, port numbers, and protocol.
- Verify the static IP address: Make sure the device is actually using the static IP address you assigned.
- Check the firewall: Make sure your device’s firewall is not blocking the ports you’re trying to forward.
- Reboot your router and device: Sometimes, a simple reboot can resolve connectivity issues.
- Use a port checker: Use an online port checker to verify that the ports are open from the outside world. NetworkApper Open Port Check Tool is a good resource.
Conclusion
Port forwarding is a powerful tool that can unlock the full potential of your home network, allowing you to run servers, play online games without lag, and access your devices remotely. While the process can seem daunting at first, by following the steps outlined in this guide and taking the time to understand the underlying concepts, you can successfully configure port forwarding and enjoy a better online experience. Now that you know how, what are your thoughts? Leave your comments and experiences below!
Sources & Further Reading:
Original article at www.lifewire.com


