
Level Up Your Streams: Mastering OBS Studio for Engaging Content
Did you know that live streaming viewership is expected to reach 930 million by 2024? With so many eyes glued to screens, creating a captivating and professional stream is more crucial than ever. Fortunately, powerful tools like OBS Studio, an open-source broadcasting software, put professional-grade production capabilities within easy reach. This article will dive into several features within OBS Studio that can transform your content, from smoothing transitions to creating immersive virtual environments. Learning how to make the most out of OBS Studio is essential for any content creator looking to enhance their streams.
Enhancing Your Livestreams with OBS Studio: Tips and Tricks
OBS Studio stands as a cornerstone of the streaming community. Its open-source nature, combined with its flexibility, makes it an attractive option for both budding and seasoned streamers. Let’s explore how to harness some of its core features to elevate your broadcasts.
Avoiding Disorientation: Smooth Transitions with OBS
One of the most jarring experiences for a viewer is a sudden, abrupt change in the video feed, often referred to as a “hard cut.” These instantaneous shifts can disrupt the flow of the stream and take viewers out of the experience as they mentally readjust to the new perspective.
Using Show/Hide Transitions for Seamless Streaming
OBS Studio offers a simple yet effective solution: animated transitions when showing or hiding sources. Instead of an immediate cut, a transition effect (e.g., a fade, slide, or stinger) smoothly introduces the new source.
How to Add a Transition:
- Right-click on the source you want to modify within the “Sources” dock.
- Select “Show Transition” or “Hide Transition” from the dropdown menu.
- Choose your preferred transition style from the available options. OBS Studio offers a number of defaults, and additional plugins can expand the possibilities.
By experimenting with different transition styles and durations, you can create a polished, professional feel that keeps your audience engaged.
- Fade: A gradual increase/decrease in opacity. Subtle and widely applicable.
- Slide: The new source slides in from a specified direction. Dynamic and attention-grabbing.
- Stinger: A short video clip with a transparent section used to mask the transition. Highly customizable and branded.
Creating Virtual Worlds: Chroma Key Explained
Chroma key, commonly known as “green screen,” is a visual effects technique that allows you to replace a specific color in a video feed with another image or video. This opens up a world of possibilities, letting you appear to be streaming from anywhere imaginable.
Setting Up Your Own At-Home Green Screen in OBS
While professional green screens can be expensive, you can achieve a similar effect with a relatively inexpensive setup and OBS Studio’s built-in chroma key filter.
Steps to Implement Chroma Key:
- Physical Setup: Position yourself in front of a solid green (or blue) backdrop. Ensure even lighting to minimize shadows and color variations.
- Source Selection: In OBS Studio, select your camera source within the “Sources” dock.
- Access Filters: Click on the “Filters” button below the video preview dock.
- Add Chroma Key Filter: In the “Effects Filters” window, click the “+” button and choose “Chroma Key” from the dropdown list.
- Adjust Settings: Fine-tune the chroma key settings, such as similarity, smoothness, key color spill reduction, and opacity, to achieve the desired effect. This step is crucial to remove the green screen without affecting your appearance.
By adjusting the chroma key settings carefully, you can seamlessly overlay your video feed onto any background, creating impressive visuals for your streams.
Tips for a Better Chroma Key:
- Good lighting is critical. Evenly lit green screen avoids shadows that can cause problems with the keying process.
- Maintain distance. Keep a good distance between yourself and the green screen to avoid green spill (green color reflecting onto you).
- Avoid green clothing. This is a given, but worth mentioning!
Monitoring Performance: The Stats Dock in OBS Studio
Live streaming can be resource-intensive, placing a significant load on your computer’s CPU, GPU, and network connection. Keeping track of your system’s performance is essential for a smooth, uninterrupted broadcast.
Using the Stats Dock to Optimize Your Streams
OBS Studio’s “Stats” dock provides real-time information about your stream’s performance, allowing you to identify and address potential issues before they impact your viewers.
Key Metrics to Monitor:
- CPU Usage: Indicates how much of your processor’s capacity is being used by OBS Studio. High CPU usage can lead to dropped frames and performance issues.
- FPS (Frames Per Second): The number of frames being transmitted per second. A stable FPS is crucial for smooth video.
- Bitrate: The amount of data being transmitted per second. Higher bitrates generally result in better video quality, but require a faster internet connection.
- Dropped Frames: Frames that were not successfully transmitted to the streaming platform. Dropped frames can cause stuttering and visual artifacts.
By monitoring these metrics, you can adjust your stream settings (e.g., resolution, bitrate, encoding settings) to optimize performance and ensure a consistent viewing experience. The stats dock is also helpful for recording, allowing you to confirm that your screen recordings are being saved as intended.
Adding Dynamic Elements: The Scroll Effect
While not universally applicable, the “Scroll” effect in OBS Studio can add a dynamic element to your streams by allowing a source (text, image, or video) to scroll horizontally or vertically across the screen.
Implementing the Scroll Effect for Engaging Streams
This effect can be useful for displaying news headlines, stock prices, social media feeds, or other constantly updating information.
Steps to Apply the Scroll Effect:
- Select Source: Choose the source you want to scroll within the “Sources” dock.
- Access Filters: Click on the “Filters” button.
- Add Scroll Filter: Click the “+” button and select “Scroll” from the dropdown list.
- Adjust Settings: Configure the horizontal and vertical speed of the scroll effect. Positive values scroll up or left, while negative values scroll down or right.
By experimenting with different speeds and directions, you can create a visually appealing and informative element for your streams.
Streamlining Workflow: Using OBS Scenes
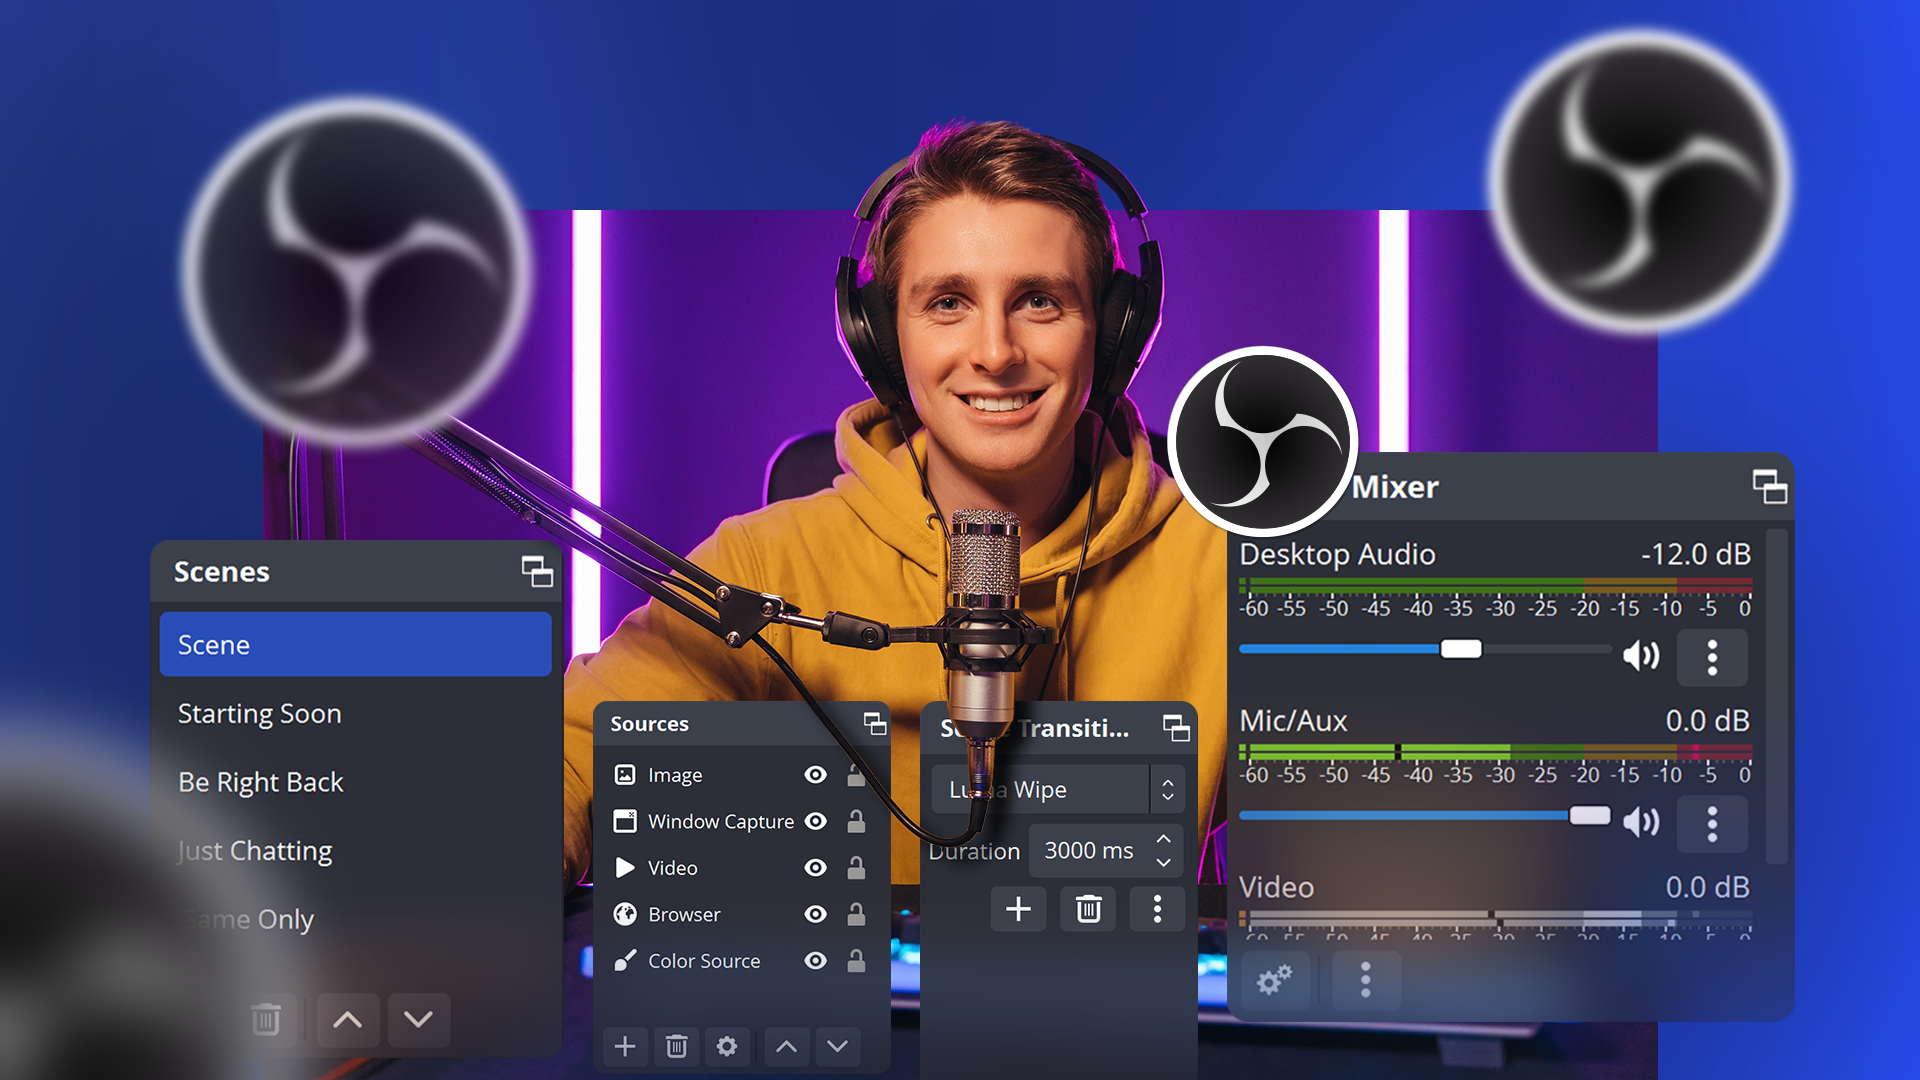
For streamers who broadcast a variety of content (e.g., gameplay, webcam footage, screen sharing), managing multiple sources and layouts can become cumbersome. OBS Studio’s “Scenes” feature provides a solution by allowing you to create and switch between different configurations with ease.
Organizing Your Streams with Scenes
A scene is essentially a collection of sources arranged in a specific layout. You can create multiple scenes, each tailored to a particular type of content or activity.
Benefits of Using Scenes:
- Organization: Keeps your sources organized and prevents clutter in the “Sources” dock.
- Efficiency: Allows you to quickly switch between different layouts without having to manually enable or disable sources.
- Professionalism: Enables smooth transitions between different segments of your stream.
To create a new scene, click the “+” button in the “Scenes” dock and give it a descriptive name (e.g., “Gameplay Scene,” “Webcam Scene,” “Just Chatting”). Then, add and arrange the necessary sources within that scene.
You can also set up scene transitions to make the moves between scenes appear more polished. These transition options are found in the “Docks” dropdown menu, located on the top toolbar of the program.
Conclusion: Unleash Your Streaming Potential
OBS Studio is a powerful and versatile tool that empowers content creators to produce high-quality, engaging live streams. By mastering the techniques discussed in this article – smooth transitions, chroma key effects, performance monitoring, scrolling elements, and scene management – you can significantly elevate your broadcasts and captivate your audience.
Remember to explore additional plugins and resources available online to further customize and enhance your OBS Studio setup. The open-source nature of OBS Studio means that new features and improvements are constantly being developed by a passionate community of users.
What are your favorite OBS Studio tips and tricks? Share them in the comments below!
Sources & Further Reading:
Original article at www.howtogeek.com


