
Unlock Your Webcam’s Hidden Potential: Pro-Level Looks Without the Pro Price Tag
Have you ever wondered why your video calls look drastically less polished than your favorite streamer’s? That grainy, washed-out image staring back at you isn’t fate—it’s often the result of fundamental hardware limitations in affordable webcams. Millions face this daily frustration. Yet achieving broadcast-quality visuals doesn’t necessiate emptying your wallet on DSLRs. Savvy creators leverage free OBS plugins to drastically improve webcam quality through software-driven enhancement. This systematic approach combats flat lighting, dull colors, and lifeless depth – transforming even basic cameras into presentation assets.
Why Your DSLR Leaves Your Webcam in the Dust
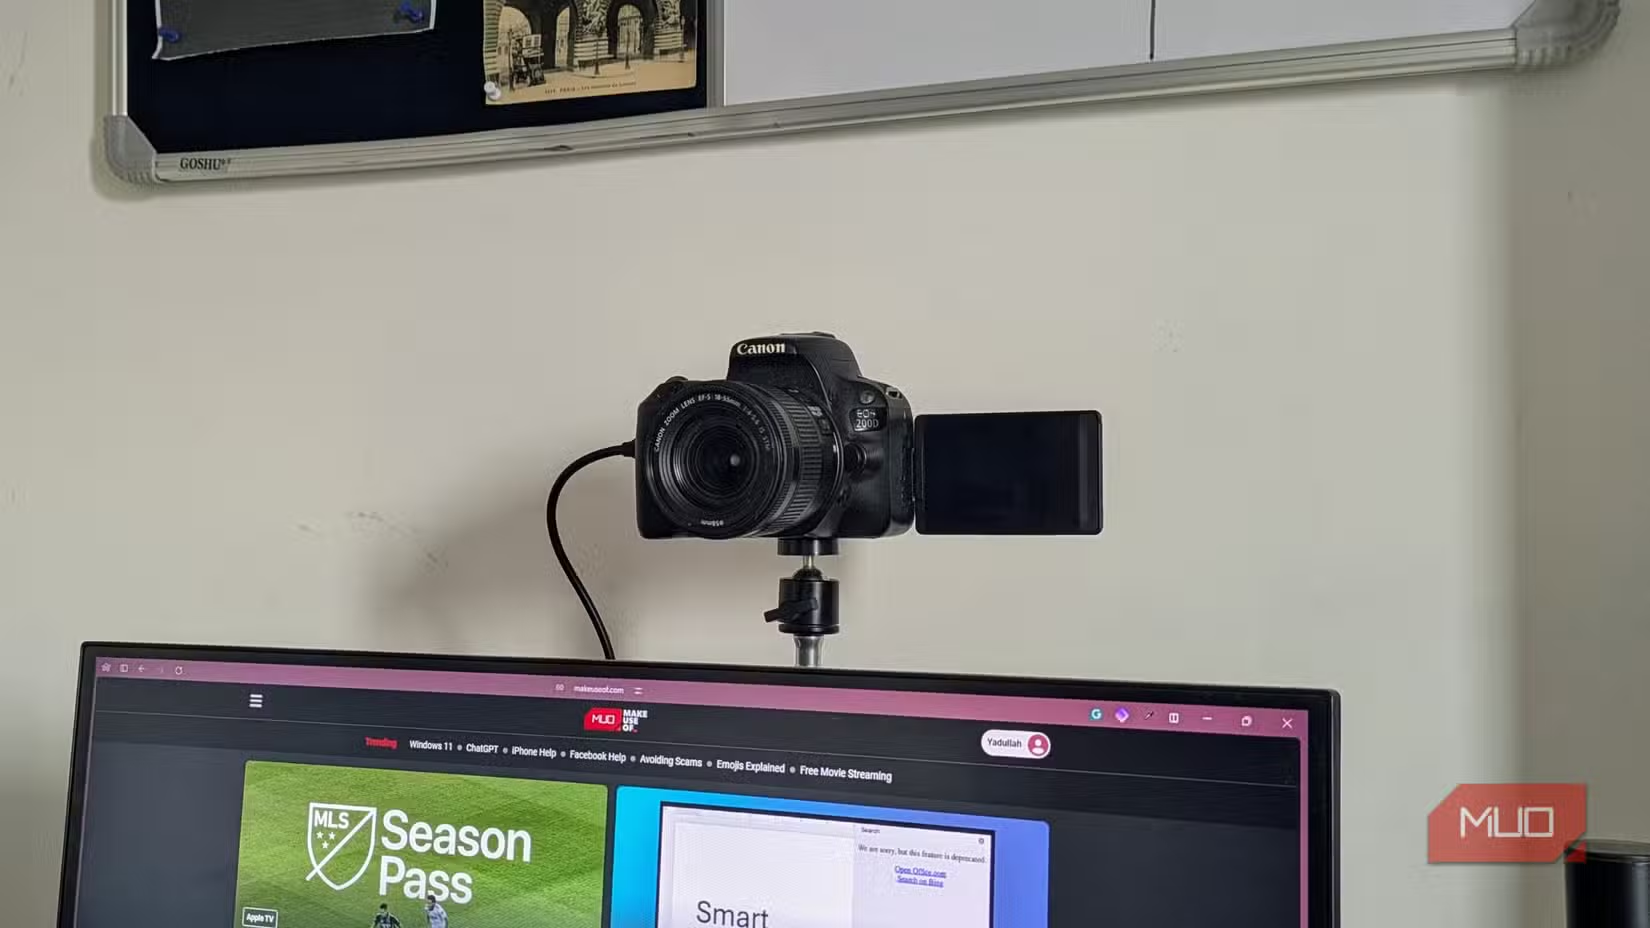
The glaring gap between a dedicated camera and a budget webcam isn’t simply megapixels. Physics dictates image quality. Professional DSLRs boast sensors significantly larger than typical webcam sensors—often by a factor of 10x or more. According to sensor size comparisons documented by imaging resource Wikipedia, common webcams utilize sensors smaller than 1/4″, while APS-C DSLR sensors exceed 370mm². This vast difference impacts several key areas:
- Light Capture: Larger sensors capture exponentially more light per pixel. This translates to richer detail in shadows, cleaner low-light performance, and reduced graininess—issues plagueing miniature webcam sensors.
- Optical Depth & Bokeh: Superior glass lenses paired with large sensors enable authentic shallow depth of field (bokeh). This naturally focuses attention on the subject and blurs the background aesthetically, a feature physically impossible to replicate perfectly with software on tiny-sensor webcams.
- Dynamic Range & Color Science: DSLRs process richer color information per pixel and maintain detail across bright highlights and deep shadows simultaneously. Lower-cost webcams compress data aggressively, leading to blown-out windows or murky details (known as low dynamic range) and flat, unnatural color rendering.
Consider this simple sensor impact comparison:
| Feature | Budget Webcam (e.g., 1/4″ sensor) | Entry-Level DSLR (e.g., APS-C sensor) |
|---|---|---|
| Relative Sensor Size | Tiny (often < 50mm²) | Large (370mm²+) |
| Native Depth of Field | Deep (everything in focus) | Shallow (background blur achievable) |
| Low Light Performance | Often noisy/pixelated | Significantly cleaner |
| Color Accuracy | Frequently muted/washed out | More vibrant/accurate |
| Dynamic Range | Limited (loss of highlight/shadow detail) | Higher Detail Retention |
These are inherent hardware constraints. Yet, intelligent software processing fills significant gaps, bridging your image toward professional aesthetics.
Transforming Your Webcam Footage Step-by-Step with OBS
OBS Studio transcends simple screen recording. Its rich ecosystem of filters and plugins provides broadcast-grade control over your webcam output—all for free. Forget expensive proprietary software subscriptions. Here’s your actionable blueprint:
Precision Sharpening That Doesn’t Scream “Filter”
Counteracting the softness endemic to cheap lenses is paramount, but tread carefully. OBS’s built-in Sharpen filter is potent but easily overdone. The goal is enhanced clarity, not a radioactive halo effect around your head. Follow these steps:
- Add the Sharpen filter to your webcam source within OBS.
- Start with a low value (0.10).
- Gradually increase (target 0.15 to 0.25), observing live preview on a full-screen view. Subtlety wins.
- Adjust based on lighting: Lower values in strong light, slightly higher in lower light (but watch for noise amplification).
Pro Insight: Sharpening enhances existing edges. Without adequate lighting first, you’re sharpening blurry noise rather than your true features.
Harnessing Color Correction Magic
This is where average footage becomes premium. Lumetric Corrector (a free Lua script) unlocks Hollywood-style color grading within OBS—demystifying complex tools.
- Download & Install: Get Lumetric Corrector from trusted repositories. Place the Lua script in OBS’ dedicated scripts folder (typically
C:\Program Files\obs-studio\data\obs-plugins\frontend-tools\scriptsor similar). - Apply: Right-click your webcam source > Filters > Add Filter > Select Lumetric Corrector.
- Auto-Balance: Use the Auto White Balance tool instantly. This fixes unnatural color casts caused by warm/cool room lighting, ensuring whites truly appear white.
- Boost Life: Increase Contrast moderately (~15-20%) and Saturation incrementally (~10-15% to start). Avoid cartoonish skin tones – aim for natural vibrancy.
- Refine Tones: Experiment with the RGB wheels for highlights, midtones, and shadows. Need subtle rosy cheeks? Boost red in the midtones minimally. Cool down distracting shadows? Slightly reduce blue/green.
- Presets: Short on time? Lumetric offers presets. Try “Cinema” or “Studio Look” as starting points before fine-tuning.
Applying Cinematic LUTs Effectively
Look-Up Tables (LUTs) offer instant aesthetic transformations, applying complex color remaps with one click. Combine them strategically:
- Add OBS’ native Apply LUT filter to your webcam source.
- Use OBS’s included LUTs (e.g., Cold, Heat) or source Creative Commons LUTs from sites like Unsplash LUTs or RocketStock.
- Crucial Workflow: Always do core corrections (White Balance, Exposure Fixing) before applying a LUT. Applying a cinematic LUT to uncorrected footage magnifies problems. Think of them as stylization, not correction tools.
- Adjust LUT Blending Strength: Drop opacity to 80% or less for nuanced effects.
Adding Depth & Polish Through Subtle Styling
The pros use visual tools to guide viewers’ eyes.
- Vignette: Add the Vignetter Lua script filter. Choose the “Cinematic” preset. Dramatically dial down the Intensity slider (Start at 0.10 range). Purpose: create subtle peripheral darkening directing focus centrally—noticeable only when switched off. Key settings:
- Intensity: 0.08 – 0.15 (Minimal!)
- Radius: 0.70 – 0.80
- Softness: 0.50 – 0.70
- Non-Plastic Skin Smoothing: Apply the free DeBlemish filter. Use conservative settings—targeting only minor blemish/wrinkle softening (Strength ~40%). Overuse creates unnatural porcelain-doll skin, breaking immersion. Employ sparingly for confidence, not mask-like effect.
Where Software Enchantment Meets Reality
Software powerfully enhances signal captured by your hardware – it cannot conjure data the sensor never recorded. Be realistic:
- Sensor Noise: Severe low-light garbled grain isn’t fully removable. Reducing resolution slightly can mitigate this.
- Authentic Optical Bokeh: Software background blur relies on often imperfect edge detection. Complex backgrounds or fine hair strands reveal limitations. Proper positioning creates genuine depth.
- Resolution Limits: Software sharpening won’t turn a true 720p sensor into pristine 4K.
The indispensable partner? Lighting. As research by Stanford University’s Image Systems Engineering Institute highlights, diffused lighting contributes over 70% to perceived video quality compared to camera specs alone. Position a soft, bright light source slightly above and in front of you (a window works wonders!). This drastically reduces sensor noise, enhances apparent sharpness, and provides balanced data for filters to work their magic. Software lifts potential; lighting unlocks it.
Master Your Setup Before Opening Your Wallet
An expensive webcam gathering dust is wasted capital. Before upgrading:
- Optimize Lighting: Prioritize soft, front-facing illumination above everything else. Use lamps with diffusers or bounce cards.
- Master Software: Rigorously apply the OBS filter techniques outlined.
- Phone Experiment: If possible, use apps like EpocCam/Camo to leverage your smartphone’s superior camera optics.
- Fine-Tune: Test settings on calls/recordings. Capture feedback. Iterate.
Truly stellar video stems from understanding interplay between hardware limitations and software augmentation. Technique triumphs over budget. A thoughtfully tuned $20 webcam paired with skillful lighting routing delivers vastly superior results versus a hastily plugged-in $200 camera. Embrace the power within free tools—your professional image awaits refinement, regardless of gear stigma. Share your transformation journey or personal OBS tricks below – what hidden potential did you unlock?


